
A desk can look neat from above and still hide a knot underneath. Knowing how to manage cables is less about buying every sleeve in the store and more about order: remove dead cords, separate power from data, route along the frame, then clip. This cable management guide shows that sequence so desk wire management lasts more than a weekend.
When teams evaluate cable management help, the useful filter is concrete constraint matching—capacity, interface standards, and installation conditions—rather than brochure claims alone.
Start with the cables you actually use
The first tool is not a clip. It is a trash pile of dead cords.
- Unplug the desk except for regular devices.
- Trace each remaining cable from device to port.
- Remove duplicates and retired bricks.
- Label the survivors if ports look identical.
Clutter drops before a single organizer ships. Many cable management tips fail because people organize cords they should have thrown out.
Basic tools (use the right few)
| Tool | Best job |
|---|---|
| Cable clips | Direct wires along edge or leg |
| Hook-and-loop ties | Bundle without permanent hard zip crush |
| Under-desk tray | Holds power strip + slack coils |
| Sleeve | Groups permanent paths into one line |
| Cable box | Hides brick adapters that cannot hang clean |
You do not need all five. A typical single-monitor desk often needs clips + ties + a tray. Dual creative desks add a sleeve. Living TV mounts borrow wall channels rather than desk trays.
Strong competitive articles group tools by problem. Do the same: clips for direction, trays for mass, sleeves for multi-line trunks, boxes for ugly bricks.
How to organize desk cables step by step
- Unplug and sort. Lay out monitor, dock, speakers, lamp, charger lines.
- Separate power from data. Higher-current bricks stay on one path when possible so USB-C and HDMI can be traced later.
- Group by destination. Bundle only after the final side of the desk is fixed.
- Route against the frame. Frame-hugging lines look cleaner than free-fall drops.
- Secure with clips or ties. Clips for turns, ties for parallel runs.
- Leave one intentional access cable. Phone charge cords can be staged at the front edge instead of disappearing forever.
That sequence is the answer to most searches for how to organize desk cables and how to organize cables at desk phrasing.
Solutions by problem type
| Problem | Fix |
|---|---|
| One monster knot under the top | Unravel, sort, re-route along rear rail |
| Power strip crowds the floor | Under-desk tray or Velcro under top |
| Monitor tails wave when you type | Arm with channel + service loops |
| Sit/stand desk yanks cables at top height | Extra vertical slack + sleeve to the moving top |
| Visible brick warts near the wall | Cable box or wall outlet organizer |
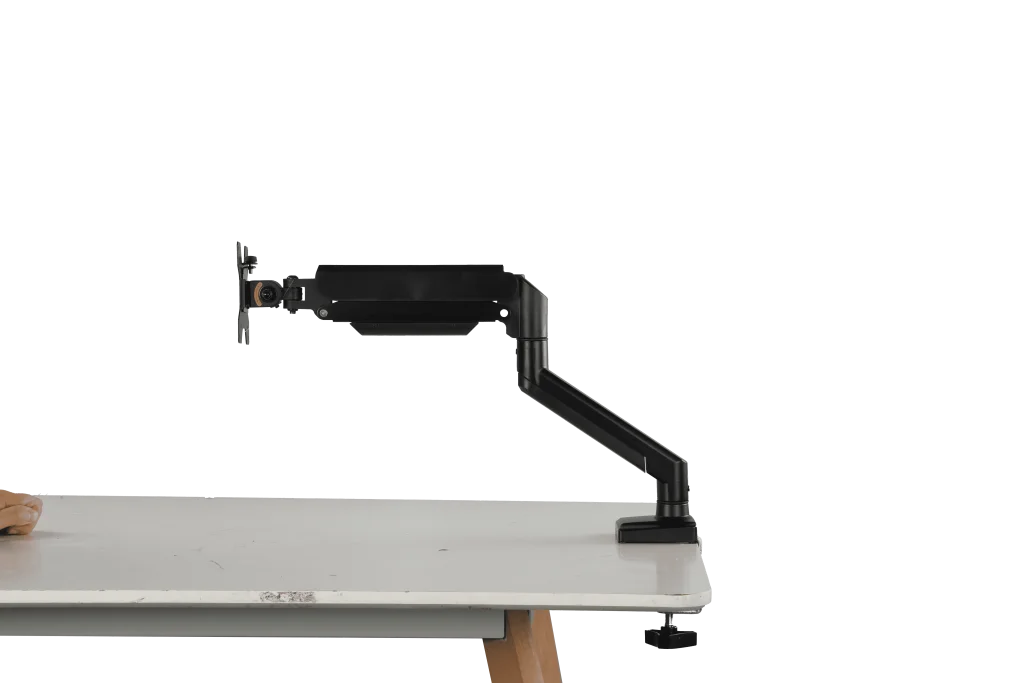
For multimonitor days, a monitor arm that routes through the spine often beats three loose clippings. Browse desk mounts that include channels on the ThunderTech Pros English site when hardware is part of the cable plan rather than an afterthought.
Hide under and behind the desk without blocking service
Hide mass first, not every millimeter of wire.
- Coil spare length after routing so service loops stay reachable.
- Keep 10-15 cm free near connectors so pull tests do not unplug docks.
- Avoid permanent hard zip ties on cables you reconfigure monthly.
- Put the power strip where a hand can still find the switch in a blackout.
People looking for cable management tips and tricks often over-hide and then cut at the first upgrade. Serviceability is part of clean.
Desk layouts that make cable management easier
| Layout | What helps |
|---|---|
| Wall-facing single monitor | One vertical drop + clamp arm channel |
| Corner dual setup | Dual arm + single trunk toward the wall outlet |
| Sit/stand | Moveable trunk attached to the rising frame |
| Dock-first laptop | One thick dock cable + short device tails |
ThunderTech Pros manufactures its mounting hardware in its own ISO 9001:2015 certified factories, with 17 years of production experience across TV mounts, monitor arms, and AV mounting solutions. On cable work that matters because stiff arms hold service loops steady while you stand the desk, instead of flopping a panel that yanks HDMI every cycle.
Common mistakes
- Buying a sleeve before removing dead chargers
- Zipping power and Ethernet so tightly that ports cannot move
- Mounting the strip so high you cannot hit the switch
- Ignoring sit/stand travel range
- Routing through chair casters
A 20-minute reset you can rerun monthly
If the desk is already live and you only have a short window:
- Photograph the rear of the desk for a “before” map.
- Unplug only noncritical devices first (light, speakers), then the dock path.
- Pull everything forward 30 cm rather than crawling deep under the top.
- Rebuild one trunk at a time: power strip tray → monitor path → laptop/dock path.
- Stand the desk (if sit/stand) to full height before closing the clips.
That monthly loop keeps how to manage cables from becoming a once-a-year renovation. ThunderTech Pros desk arms with cable spines help because the riser itself is a documented path; you spend less time inventing new mid-air routes when the screen moves.
For dual setups, finish one arm completely before starting the second. Mixing half-finished tails is how desk projects lose an hour. If a ThunderTech Pros dual hub is on the desk, route both display cables into the shared spine after height conflict checks, not before.
When TV and desk rules intersect
The same clip discipline works behind a mounted TV: service loops near the bracket, power separate from HDMI when possible, and no tension when the arm or tilt plate moves. The live wording for home installs is often still “how to manage cables,” even when the surface is a wall instead of a desk. Share one ruleset across both rooms and spare yourself two contradictory systems.
Frequently Asked Questions (FAQ)
What is the easiest way to organize desk cables?
Remove unused cords, route along the frame, clip direction changes, and park the strip in a tray. That baseline beats fancy sleeves alone.
Are cable clips enough?
For a light laptop-only desk, often yes. Add a tray when bricks accumulate. Add a sleeve when multiple permanent lines share one path.
How do I make the desk look cleaner without hiding every cable?
Stage one charge cable consciously at the front. Hide mass trunks behind. Visual noise comes from random mid-air lines, not from one intentional lead.
How do you organize cables at a desk long term?
Rebuild only after you change devices. Fire a 10-minute monthly peek under the top for loose clips and chewed ties pets or chairs created.
Does cable management matter for monitors on arms?
Yes. A clean 27 or dual arm still looks cheap if cables fan out across the wall. Channel routing is part of the install, not optional cosmetics.
Cable color and labeling notes
You do not need a rainbow kit. Two colors are enough for many desks: one band for power regenerators and bricks, one for data. Painters tape flags with one-word labels beat memory after vacation. If a housemate shares the desk, labels stop accidental unplugs more effectively than another box of clips.
Keep spare 0.5 m USB-C and HDMI ends in a drawer labeled “desk patch” so a broken lead does not collapse the whole routing. Rebuilds fail when people cut zip ties and discover they lack a replacement of the same length.
Keep the rule short: sort, route, clip, service
Learning how to manage cables is a repeatable habit. Start with less wire, follow frame lines, bind gently, and leave service loops. Use that cable management guide order every time you add a dock or second screen, and the desk stays readable without a full teardown each month.