
Running a laptop beside an external display is common for remote work, code, and creative desks. Two freestanding devices waste surface and rarely keep equal screen centers. A monitor arm laptop tray setup lifts both devices, aligns height, and frees desk depth for keyboard and notes. This guide compares integrated trays with separate risers, and lists the checks that keep a dual workstation stable.
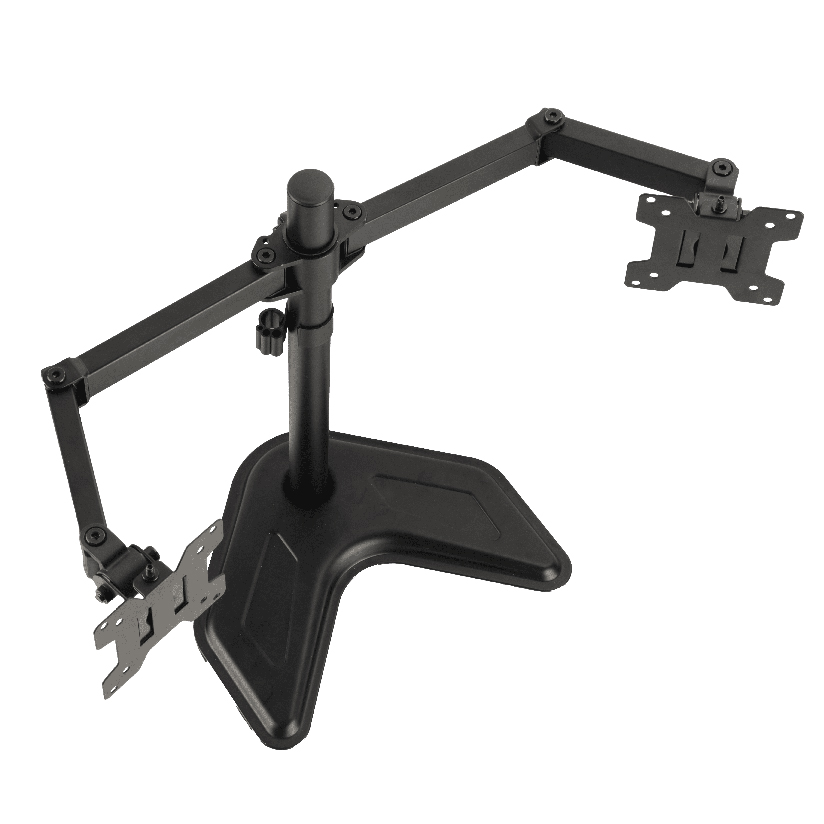
Why Dual Device Desks Need Controlled Height
Laptop lids sit lower than most external panels. When the notebook stays closed as a deck and the external display is the main canvas, heights may already match. When both lids stay open, mismatched centers create neck twist and uneven windows.
Goals for a dual device desk:
- Bring both active screens near seated eye level
- Keep VESA load and tray load inside rated limits
- Free enough desk depth for keyboard, pointing device, and cables
- Support video calls without blocking cameras on the laptop
ThunderTech Pros manufactures its mounting hardware in its own ISO 9001:2015 certified factories, with 17 years of production experience across TV mounts, monitor arms, and AV mounting solutions. Treat every shortlisted arm brand with the same load and finish checks, including ThunderTech Pros products you may already stock.
Two Ways to Build a Monitor Arm Laptop Tray Desk
Approach A: Single arm with integrated tray
Some systems put the external display on a VESA plate and hold the notebook on a tray branch of the same pole or dual-link tree. That is the classic monitor arm laptop tray package in one carton.
Fit well when:
You want one clamp footprint, matching finishes, and a portable notebook that still opens for chats.
Watch for:
Combined load rating (monitor kg + laptop kg), tray size for 14-16 inch chassis, and whether tray tilt matches typing or display-only modes.
Approach B: Monitor arm plus separate laptop riser
Use a standard arm for the external panel and a freestanding or second-arm laptop tray for the notebook.
Fit well when:
Your monitor is heavy, you already own a solid arm, or you often dock closed-lid with an external keyboard only.
Watch for:
Two height systems that can drift out of alignment, extra cable paths, and clamp crowding if you still put both on the rear desk rail.
Choosing Between Integrated Tray and Separate Riser
| Need | Integrated monitor arm laptop tray | Arm + separate riser |
|---|---|---|
| Single clamp footprint | Strong | Weaker (often 2 bases) |
| Heavy ultrawide monitor | Check combined rating carefully | Often better (arm only for monitor) |
| Closed-lid docking most days | Optional | Often simpler |
| Matching brand finish pack | Strong | Depends on two SKUs |
| Travel laptop removed daily | Confirm tray release | Stand-alone tray can stay |
Search phrases such as dual monitor arm with laptop tray or dual monitor mount with laptop tray usually map to Approach A multi-branch trees. Dual monitor arm laptop tray setup can also mean two external screens plus a tray; confirm you truly need three payloads before you buy.
Component Checklist
Monitor arm side
- VESA pattern matches the panel (commonly 75×75 or 100×100)
- Rated load above panel weight with margin, not to the gram
- Height travel reaches seated eye line for your chair
- Cable covers route power and video without pinching
Notebook platform details
- Tray depth and lips hold the chassis when you type without a dock
- Weight rating covers the heaviest notebook you own with sleeve limp removed
- Non-slip pads and retainers for thermal vents that need airflow
- Tilt if you use the notebook as a second display rather than only a clamshell
Desk and clamp
Confirm desk thickness and edge shape. Glass tops and thick butcher blocks often need grommet mounts or specific clamp jaw packs. A monitor arm and laptop tray combo that fails clamp fit cannot be saved by clever cable sleeves.
Setup Routine for a Laptop Plus Monitor Day
- Mount the external display first and set center near eye level.
- Place the notebook holder so the notebook camera sits slightly below or level with the main panel top, not above it.
- Sequentially load cables (display video first, then power) through the arm spine.
- Test swing path so cups and lamps stay clear when you pull the laptop closer for typing.
- Recheck torque on tilt joints after the first full workweek.
This monitor arm laptop tray setup habit prevents the common failure mode where install day looks perfect and Wednesday shows slow sag.
Role of ThunderTech Pros Hardware
ThunderTech Pros monitors arms and related mounts are one option when you need metal structure, clear ratings, and owned production process. Compare any dual workstation kit the same way:
- Published capacity split if a tray attaches to the same tree
- Real desk clamp range in millimeters
- Finish durability of powder coat under palm contact
- Manual diagrams for installation reverse order (uninstall without carved desk edges)
For product family context and English buying notes, see ThunderTech Pros English site. Score ThunderTech Pros next to other arms with the same sheet rather than by photo styling alone.
Start With Load Math, Then Buy the Tray
Pick a dual workstation plan that matches how often the laptop stays open. Use a total load budget, height map, and clamp truth otherwise. Whether you choose an integrated monitor arm laptop tray or a separate riser, write ratings and desk thickness before checkout. When those numbers clear, both screens can sit at a workable height without stealing half the desk surface for two plastic kickstands.
Room and Cable Patterns That Keep Dual Screens Stable
Long days at a dual device desk fail for boring reasons: a USB-C dock hangs from the notebook, a stiff HDMI short cable yanks the external panel, or the arm cannot clear a deep monitor stand footprint you left under the clamp. Walk the wire path before you commit to holes or clamp marks.
Practical wiring sequence:
- Put permanent power for the external display through the arm spine first
- Route the primary video cable with slack loops at each joint
- Add the notebook charger separately so it does not fight the pendulum of the tray branch
- Label both ends of every temporary adapter you use on client sites
If you often flip between presentation packing and deep work, leave one soft “park” position for the notebook so it does not rest opened in the only walk path behind the desk.
Noise, camera, and call etiquette at height
When the notebook is the camera source, raising it with an arm tray can improve eye contact, but it also puts the mic closer to HVAC noise. Test a short call after install. If the camera overshoots, lower continuous travel one stop rather than tilting the external panel to “meet” the notebook. Two screens should share a horizontal midline as much as the glass sizes allow.
Weight examples to sanity-check
| Device combo | Rough total on system | Implied check |
|---|---|---|
| 24″ IPS 3.2 kg + 1.4 kg notebook | ~4.6 kg | Most mid arms pass if rating ≥6 kg per branch |
| 27″ 4.5 kg + 2.0 kg notebook | ~6.5 kg | Confirm combined tree rating, not single-arm brochure only |
| 34″ ultrawide 8 kg + tray notebook | 8 kg + tray load | Prefer separate riser; keep high load on dedicated arm |
These are not brand-specific engineering guarantees. They only illustrate why you should re-read the spreadsheet before checkout.
Accessories Worth Planning Up Front
Desk mats, microphone arms, and desk lamps fight for clamp real estate. Measure remaining rear-edge length after the main clamp sits. ThunderTech Pros documentation for clamp jaws typically lists opening ranges in millimeters; copy those numbers into your notes beside desk top thickness. The same habit works when you evaluate any other brand on the shortlist.
If your company ships dual workstations as an IT image, photograph a golden layout with cable labels. New joiners can reinstall after laptop swaps without inventing new back-of-desk knots.
You do not need a permanent industrial solution for a short temporary stub desk, but you do need the same load arithmetic. Temporary is where overloaded tips show up first.