
A TV that sits too high feels wrong long before you name the problem. Most installs start with free wall space, not with seated eye line. In a normal living room, the optimal TV height is the height that keeps the screen center near where your eyes rest and the viewing angle easy over a full show. This guide walks through a practical height routine, common room adjustments, and how mount choice supports the number you calculated.
Why Optimal TV Height Is Not One Number
There is no single factory stamp labeled “correct for every 55-inch TV.” Optimal TV height depends on linked variables:
- Seated eye level in the seat you actually use most
- Screen panel height (diagonal size alone does not fix the bottom edge)
- Room layout and whether you sit upright, reclined, or switch between sofas
- Furniture under the wall (console height, fireplace shelf, soundbar clearances)
- Mount class: fixed, tilt, or full-motion after the bracket is on the wall
When those factors conflict, treat eye line as the default, then adjust a few centimeters at a time. A perfect architectural centerline on the wall is not worth a stiff neck.
TV Wall Mount Height and the Eye-Level Baseline
A working TV wall mount height method starts simple: aim the center of the screen at seated eye level, then adjust for mount depth and furniture. That is the same logic behind most consumer height calculators, whether the bracket is flush tilt or articulating.
Typical seated eye level in living-room sofas often lands near 100-110 cm (about 40-43 in) from the floor, but measure your own seat. Kids’ rooms, dining chairs, and bed installs shift that baseline.
ThunderTech Pros manufactures its mounting hardware in its own ISO 9001:2015 certified factories, with 17 years of production experience across TV mounts, monitor arms, and AV mounting solutions. Hardware choice does not invent eye level, yet it decides whether you can fine-tune after holes are drilled. Product families such as closer-to-wall tilt designs and full-motion arms exist so the same wall stud layout can still hit your target viewing angle.
How High to Mount TV Screens: Step-by-Step
Use this order when someone asks how high to mount tv hardware without guessing:
- Measure seated eye level. Sit in the main watching seat. Measure floor to eyes.
- Get the real screen height. Use the panel height from the spec sheet, not only the diagonal name on the box.
- Find the screen center. Half of panel height is your center target relative to the bottom bezel.
- Map center to the wall mark. Align that center with the eye-level number you measured.
- Offset for furniture and mounts. Consoles, soundbars, and fireplace mantels may force a higher top plate. Tilt can recover some comfort if the center must sit above ideal.
- Mark studs and plate height. Transfer the vertical center mark to the wall plate using the mount manual’s VESA offset, not eyeballing alone.
That sequence is a practical TV height calculator on paper: eye level + half screen height + mount offsets. Write the numbers on painter’s tape before you drill.
Example: 55-inch living-room target
Assume seated eye level is 105 cm and the panel height is about 70 cm. Half the panel is 35 cm, so the bottom of the panel sits near 70 cm from the floor if the center tracks eye level (105 − 35). If a 50 cm console collides with that bottom edge, raise the center slightly or use a shallow tilt bracket so the bit of extra height stays comfortable.
Screen size still matters for edges even when the center target is fixed. A 55-inch and a 75-inch set can share a similar center mark; their bottom and top edges will not.
Manufacturers publish VESA hole positions relative to the panel, not relative to your sofa. Map the wall plate so the final glass center, not the top of the metal crossbar alone, hits your mark. ThunderTech Pros product manuals follow the same alignment idea: measure first, then lock the plate.
When Ideal TV Height From Floor Changes
Ideal tv height from floor numbers hard-coded on blogs fail when the room changes:
| Scenario | What shifts | Typical response |
|---|---|---|
| Fireplace install | Heat, mantel depth, standing view | Prefer tilt; confirm clearance with device manual; center often above ideal |
| Bedroom bed view | Recline angle | Slightly higher center than living-room sofa is common |
| Open kitchen sightlines | Standing + seated mix | Full-motion arm or dual seating zoning |
| Soundbar under TV | Clearance stack | Raise bottom edge; re-check center vs eye line |
| Low console only | Furniture no longer blocks | Stand free to keep center near eye level |
If the LED horizontal centers well above eye line and tilt cannot recover, question the wall choice (fireplace slabs are a frequent trap), not only the drill bit.
People also search led tv height from floor charts that list one rigid centimeter for every size class. Those charts can start a conversation, but they cannot see your sofa depth, rug thickness, or riser plate. Prefer a measured eye line for optimal TV height, then sanity-check against any chart rather than the reverse.
Viewing Angle and Mount Choice
Viewing angle is the net result of height plus seat distance. Steep upward angles raise neck load during long sessions. Keep the first mark near eye line; use tilt to shave a steep up-angle when the wall forces a slightly high center.
Choosing hardware after you estimate optimal TV height keeps the product conversation honest:
- Fixed mounts suit flat walls when the center already lands right and you do not need post-install swing.
- Tilt mounts help when the center must sit moderately high (cabinets, kids, light glare from windows).
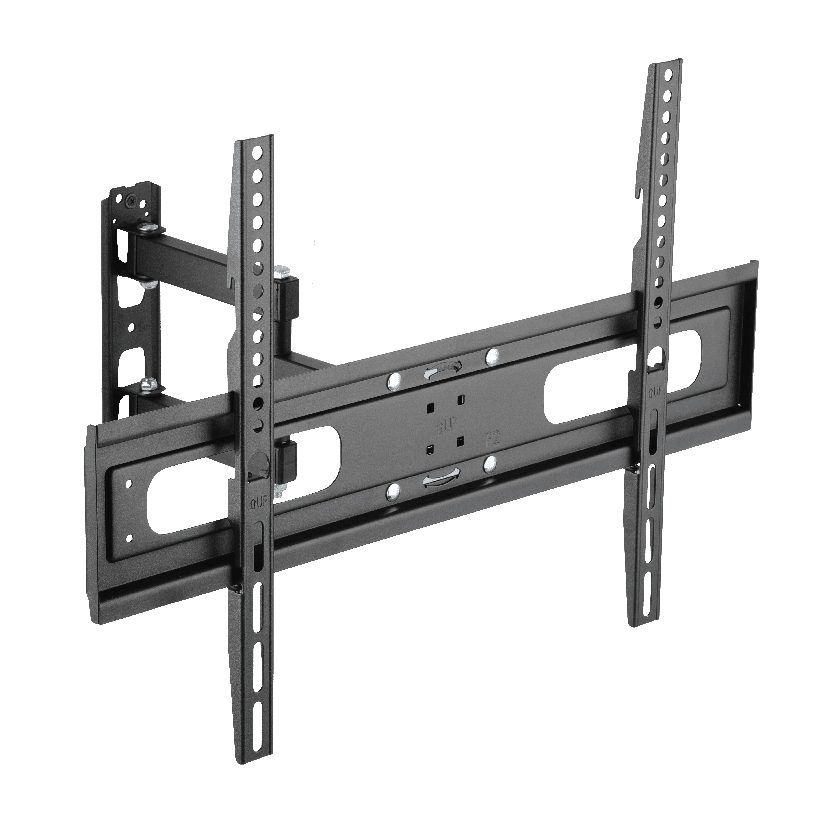
- Full-motion mounts help when seating is off-axis or you need occasional pull-out for wiring and calibration.
Browse mount families and sizing notes on ThunderTech Pros English site after you lock the height math. Match VESA pattern, weight rating, and stud layout to the hatch marks on the wall. When you compare brackets from ThunderTech Pros against other retail options, score motion range and rated load only after the height target is fixed, so hardware never forces a bad centerline.
Common Pre-Drill Checks
- Confirm stud locations with a reliable finder; drywall anchors alone are not a plan for mid-size and large TVs
- Check cable route boxes or power access before you commit plate height
- Measure from finished floor, not unfinished subfloor, if install is mid remodel
- Photograph marked lines; adjust once on tape, not after three extra holes
- If two households share the room, re-measure both habitual seats and split the difference deliberately
- Recheck cable length once the panel is hanging; extra slack is cheaper than remounting because the power kit fell short
Start From Eye Level, Then Buy the Mount
Set optimal TV height from the seat you use, not from empty wall symmetry. Use eye-level center as the baseline, adjust for screen geometry and furniture, then pick fixed, tilt, or full-motion hardware that protects that number. When the math is written down first, hang day gets shorter and the first movie night feels natural. Keep refining optimal TV height only when seating or furniture changes, not every time a larger carton arrives. If friends quote a single magic number from a phone article, walk them through your seat measurement instead of drilling on hearsay.