
A projector sitting on a coffee table works until someone walks past the beam, bumps the lens, or shifts the table an inch and throws the whole picture off square. The fix is to mount projector on ceiling hardware overhead, hang the unit at the exact throw distance, and lock the image in place for good. That sounds simple, but the ceiling is where projector installs go sideways: the wrong distance softens the focus, the wrong anchor risks a falling unit, and a missed alignment leaves you fighting keystone every time you watch. This guide walks through placement math, joist selection, drop poles, alignment, and cable routing so the unit ends up exactly where the picture needs it.
Why a ceiling install is more than just hanging the unit
A projector is not a TV. A TV looks fine almost anywhere on a wall, but a projector only produces a correct image from one precise spot in space, set by its throw ratio and the screen size. Move it forward or back and the image grows or shrinks past the screen edges. Move it left or right and you introduce keystone distortion that no amount of digital correction fully cleans up. So before you mount projector on ceiling brackets at all, you are really solving a geometry problem, and the hardware only holds the answer in place.
That geometry interacts with the structure overhead. The unit hangs in tension from a joist or concrete deck, and a drop pole sets how far it dangles below the ceiling. Get the pole length wrong and the lens sits too high or too low relative to the screen center, forcing extreme tilt that bends the image. The honest version of how to mount projector on ceiling is this: measure first, anchor second, and treat alignment as the step that makes or breaks the result.
Setting throw distance and projector ceiling mount height
Every projector ships with a throw ratio, the number that links distance to image width. A 1.5:1 ratio means the unit sits 1.5 feet back for every foot of screen width. A 100-inch wide screen (about 8.7 feet) at 1.5:1 wants the lens roughly 13 feet from the screen. That distance, not your seating, decides where the ceiling mount goes.
Projector ceiling mount height matters just as much as distance. Most home projectors have a fixed or limited lens offset, meaning the image projects slightly above or below the lens centerline. The goal is to hang the unit so its lens lands near the top edge of the screen for a ceiling install, then fine-tune with lens shift rather than tilt. Work through the numbers in order:
- Find the throw ratio in the projector manual, then multiply it by your screen width to get the mounting distance from the screen wall.
- Measure the lens offset percentage, which tells you how far above or below center the image lands when the projector is level.
- Set the projector ceiling mount height so the lens sits at the height the offset requires, usually near the top of the screen, keeping the body level.
- Account for the drop pole, since the pole plus the mount head decides how far below the ceiling the lens ends up.
- Confirm clearance, checking that fans, the lamp door, and cables all have room above and around the body.
Do these five and you avoid the most common mistake, which is mounting by where the table used to be instead of where the optics demand.
Choosing a ceiling projector mount and drop pole length
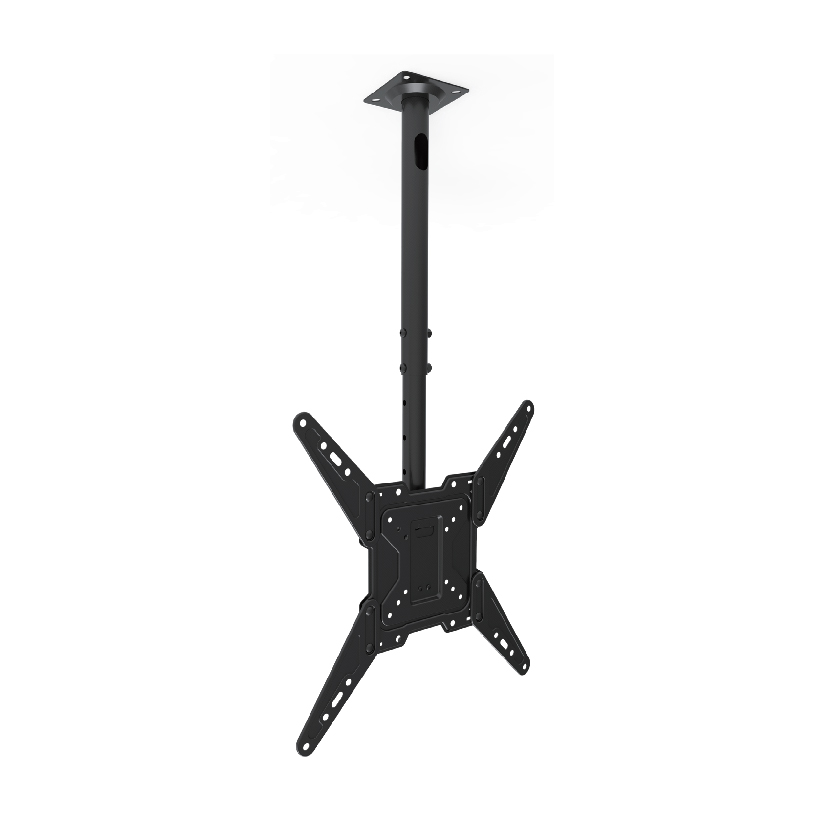
A ceiling projector mount is a small plate, a drop pole, and a spider or universal arm that clamps to the projector’s threaded feet. The pole is the variable a wall install never has, and it sets the lens height precisely. Most poles adjust or come in fixed lengths from a few inches up to about 36 inches. The lighter weight of a projector compared to a TV means the bracket is smaller, but the alignment demand is far higher.
Here is how the common mounting approaches compare on the factors that actually drive the choice. Prices are rough US street ranges, and the tilt and roll column shows whether the head corrects angle for alignment.
| Mount style | Typical price | Drop range | Max weight | Tilt / roll adjust |
|---|---|---|---|---|
| Low-profile flush mount | $20 to $40 | 1 to 3 in | 22 to 33 lbs | Limited |
| Adjustable drop pole | $30 to $70 | 6 to 36 in | 33 to 44 lbs | Yes |
| Universal spider mount | $25 to $55 | 4 to 24 in | 30 to 44 lbs | Yes |
| Vaulted-ceiling kit | $50 to $100 | 12 to 36 in | 30 to 44 lbs | Yes |
The pattern is straightforward. If your ceiling is low and the lens lands at the right height already, a flush mount keeps the unit tight and out of the way. If you need to drop the lens to screen-top level, an adjustable pole earns its cost. For a vaulted or sloped ceiling, an angled adapter keeps the projector body level while the ceiling above it is not.
How to anchor, including mounting without drilling a joist
The anchor is where overhead installs fail, so handle it like the live load it is. A falling projector lands on whoever is below, and projectors run hot, so the connection has to stay solid for years.
- Wood joists. Locate the joist with a stud finder, confirm with a small test hole, and drive lag screws through the drywall into solid wood. Drywall anchors alone never hold a projector overhead.
- Mount projector on ceiling without drilling joist. When the joist does not line up with your throw-distance spot, you have two clean options. Add a wood blocking board screwed across two joists and mount to that, which spreads the load. Or, for masonry decks, use rated concrete anchors instead of touching a joist at all. Either path lets you mount projector on ceiling without drilling joist wood directly at the exact point the optics need.
- Concrete ceilings. Common in condos and finished basements. Use sleeve or wedge anchors rated for overhead pull-out and a hammer drill with the matching masonry bit.
Whatever the surface, tug-test the mounted plate with your own weight before hanging the projector, and tighten every bolt to spec.
Dialing in keystone, alignment, and cable routing
Once the unit hangs at the right distance and projector ceiling mount height, alignment turns a rough picture into a crisp one. Level the body first using the mount’s roll adjustment so the image sits square, not tilted. Use lens shift to move the picture onto the screen before reaching for digital keystone, since optical shift keeps every pixel while keystone correction throws some away. Adjust the three legs of the mount head to fine-tune pitch and roll until the rectangle lines up with the screen frame.
Cable routing is the last detail that separates a clean install from a messy one. Plan the path before you drill:
- Power. Run to a ceiling outlet near the mount, or have an electrician add one, rather than dangling a cord across the room.
- Signal. A long HDMI run or an HDMI-over-fiber cable carries 4K from your media console to the ceiling. Route it through the attic or inside the wall where possible.
- Slack. Leave a short service loop at the projector so you can lower it for lamp or filter service without unplugging everything.
A mount projector on ceiling bracket with a removable head or a cable channel makes this far cleaner, since you can route wires through the pole instead of taping them along the ceiling.
Where ThunderTech Pros fits for overhead projector mounting
ThunderTech Pros manufactures its mounting hardware in its own ISO 9001:2015 certified factories, with 17 years of production experience across TV mounts, monitor arms, and AV mounting solutions. That consistency matters more overhead than on a wall, because the drop pole, the alignment head, and the joist plate all carry a load you want to set once and forget, and a loose tolerance shows up as a drifting image months later.
The brand builds ceiling AV hardware in its CM-44 and CM-22 series with adjustable drop poles and fine tilt and roll heads, the kind of micro-adjustment a projector needs to lock onto a screen edge. ThunderTech Pros also carries TÜV, BSCI, and UL certification and supplies through Walmart, Costco, Amazon, and Lowe’s, so the load ratings come from retail safety review rather than a printed number. You can compare the current ceiling and AV mounting lineup on the ThunderTech Pros product range before you set a drop length.
To keep it fair, ThunderTech Pros is one option among several. Peerless and Chief are long-standing pro AV names with deep projector catalogs, and VIVO covers the value end on Amazon. The right call depends on your projector weight, your ceiling type, and how much fine alignment the head offers.
Get the distance and the anchor right, then lock the picture
Start from the optics, not the hardware. Read the throw ratio, multiply by screen width to set the distance, and use the lens offset to set the projector ceiling mount height. Pick a drop pole that lands the lens at screen-top level, anchor into a joist or solid concrete (or add blocking when the joist will not cooperate), and align with lens shift before keystone. Route power and signal through the pole or the wall, leave a service loop, and a ceiling projector mount turns a wobbly tabletop setup into a fixed, square, theater-grade picture that stays put every time you press play.