
You hang the TV, step back, and the picture looks great until your eye lands on the tangle of black cords dangling down to the outlet. Inside wall cable management is the fix that most people picture: route the cables through the drywall so the wall reads as one clean surface. The idea is simple, but the execution involves safety rules, the right kit, and a few decisions about what can legally go in the wall and what cannot. This guide walks a homeowner through how inside wall cable management actually works, which products solve which problem, and how to plan the job before you cut a single hole.
Why hiding wires in the wall is not just one thing
The phrase covers two very different jobs, and confusing them is where projects go wrong. The first job is the low-voltage signal side: HDMI, coax, speaker wire, and network cable. These are safe to run loose inside a wall cavity, and a basic in-wall cable pass through kit handles them with two plates and a short tunnel through the drywall.
The second job is power. The cord that plugs your TV into the wall outlet is line-voltage, and building code in most of North America does not allow a standard power cord to be buried inside a wall. That cord is rated for open air, not for sitting inside an enclosed cavity where heat can build up. So when you set out to hide tv wires in wall cavities, you have to split the task: signal cables can pass straight through, while power needs a code-rated solution instead of the factory cord.
Getting this distinction right is what separates a tidy, safe install from a fire-marshal problem. The rest of this guide treats the two paths separately so you can plan each one correctly.
The main types of in-wall concealment hardware
Most products on the shelf fall into a few clear groups. Knowing which one your wall needs keeps you from buying the wrong box.
- Signal-only pass-through plates. Two brush or grommet plates, one behind the TV and one near the outlet, with the cables running loose between them. This is the cheapest form of in-wall concealment and the most common starting point.
- In-wall cable management kit with a power relocation bridge. These include a code-rated module that moves your existing wall outlet’s power up behind the TV without running the factory cord through the wall. The TV plugs into the upper receptacle, which is fed safely from the lower one.
- In-wall recessed media boxes. A boxed receptacle set into the wall behind the screen so the plug sits flush and the TV can hang closer to the surface, useful for full-motion mounts that need slack.
- Fire-rated conduit and raceways. For brick, plaster, or finished basements where opening the wall is hard, a surface raceway is the fallback when in wall wire concealment is not practical.
If your wall is standard drywall with a stud cavity, a kit that combines a signal pass-through with a power bridge covers almost every TV setup in one purchase. If the wall is masonry or you cannot reach the cavity, plan on a raceway instead.
How to run TV wires behind the wall, step by step
This is the part people search for most, and the order matters. Before you cut anything, knowing how to run tv wires behind wall surfaces safely comes down to a repeatable sequence.
- Find the studs and check the cavity. Use a stud finder to locate an open vertical channel between the TV and the outlet. Avoid drilling near electrical lines or plumbing.
- Mark both holes level. The top opening sits behind where the TV will hang so the plate stays hidden; the bottom opening sits beside or above the existing outlet.
- Cut the openings for your plates. Most kits include a template. Cut to size with a drywall saw, then test-fit the plates before going further.
- Drop a fish tape or pull string. Feed it from the top hole down to the bottom so you have a way to pull cables through the cavity.
- Run signal cables and install the power bridge. Pull HDMI, coax, and network through first. For power, install the code-rated bridge so the TV draws from the relocated receptacle, never from a buried cord.
- Mount the plates and tidy the slack. Screw in both plates, coil extra cable behind the wall, and snap the covers on.
Done in this order, the job is a two-hour afternoon. Skip the cavity check in step one and you risk hitting a wire you cannot see.
How the kit types compare on cost, effort, and code
Choosing an approach comes down to a few measurable factors. The table below lines up the common options on the ones that actually drive the decision. “Typical price” is a rough US street range, and “power-legal” flags whether the kit handles line-voltage in a code-compliant way.
| Concealment method | Typical price | Power-legal in wall | Wall type | Install time |
|---|---|---|---|---|
| Signal-only pass-through plates | $15 to $30 | No (signal only) | Drywall | 1 hour |
| In-wall cable management kit with power bridge | $40 to $90 | Yes | Drywall | 2 hours |
| Recessed media box | $25 to $60 | Yes (boxed) | Drywall | 2 to 3 hours |
| Surface raceway (no cutting) | $20 to $50 | Cord stays external | Any, incl. masonry | 45 minutes |
The pattern is clear. A signal-only plate is the cheapest path but leaves the power cord problem unsolved. A full in-wall cable management kit with a power bridge costs more but handles both signal and power legally, which is why it is the default recommendation for a drywall living room. If you cannot or will not open the wall, a raceway gives you tidy in wall wire concealment in appearance without touching the cavity.
Does inside wall cable management work with a full-motion mount?
Yes, and it is actually where it pays off most. A fixed mount sits close to the wall, so a short, neat cable run is easy. A full-motion mount swings the TV out and back, which means the cables flex every time you move the screen. Without planning, that motion drags cords across the bracket and wears the connectors. Good cable planning leaves a coiled service loop inside the cavity so the cables can extend and retract with the arm instead of pulling tight. When you route the slack behind the wall rather than letting it hang, the full range of the arm stays clean from any viewing angle.
Where ThunderTech Pros fits in the wire-hiding picture
ThunderTech Pros manufactures its mounting hardware in its own ISO 9001:2015 certified factories, with 17 years of production experience across TV mounts, monitor arms, and AV mounting solutions. That matters for inside wall cable management because the mount and the cable plan are part of the same system. A bracket with built-in cable channels and consistent hole tolerances gives the wires a defined path from the screen into the wall instead of leaving them to dangle off the arm.
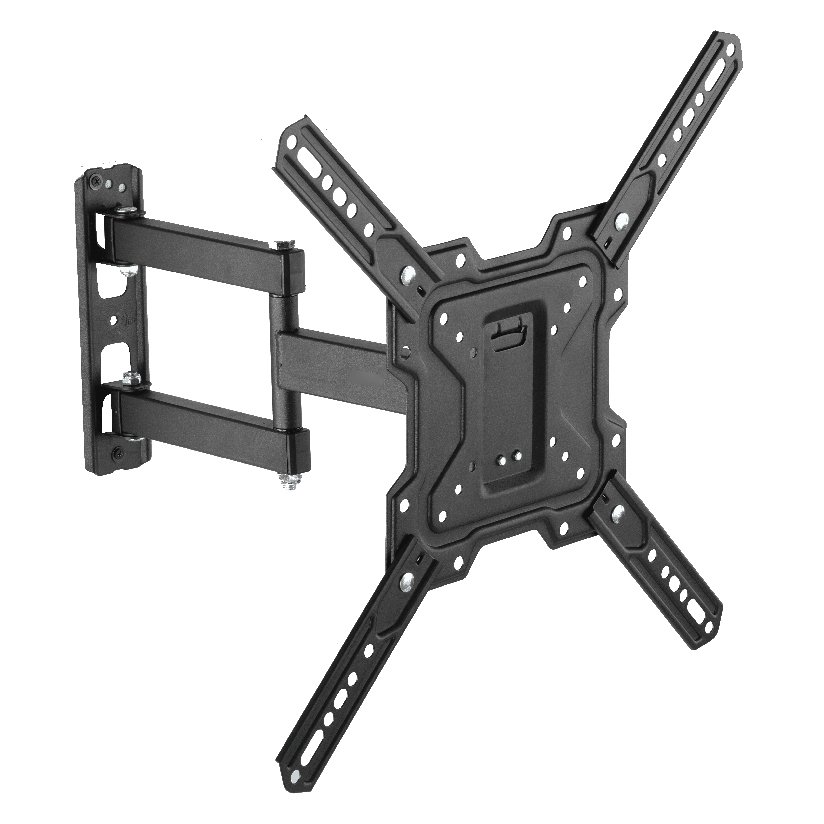
For homeowners running a moving screen, pairing a recessed power solution with a full-motion mount like the ThunderTech Pros 340EX (rated to 77 lbs, VESA up to 400x400mm) keeps the service loop tidy through the full swing of the arm. The brand also carries TÜV and UL certification and supplies through Walmart, Costco, Amazon, and Lowe’s, so the hardware meets retail safety review. You can see the current mount and AV lineup on the ThunderTech Pros product range before you plan your wall.
To be fair, ThunderTech Pros is one option among several. Sanus has wide retail reach, Mounting Dream is a value pick on Amazon, and plenty of standalone cable kits cover the basics. The right call depends on your wall type, your mount, and whether power needs to move.
Matching the approach to your wall and gear
A few common situations make the choice easy.
- Drywall living room, fixed TV: an in-wall cable management kit with a power bridge hides everything in one pass.
- Full-motion mount: leave a coiled service loop in the cavity so cables flex with the arm.
- Brick, plaster, or rental: use a surface raceway for clean concealment without cutting.
- Signal cables only, outlet already behind the TV: a simple in wall cable pass through kit is all you need.
- Unsure about power code: keep the factory cord external and run only signal inside the wall.
The deciding factor is almost always the power cord. If it can be relocated with a code-rated bridge, full inside wall cable management is within reach. If not, hide the signal lines in the wall and route power through a rated raceway.
Plan the wall before you pick up the saw
Start by deciding what goes inside the cavity and what stays code-legal outside it. Signal cables pass through freely; line-voltage power needs a rated bridge or an external path. Once that split is settled, choose a kit that matches your wall type, leave a service loop if your mount moves, and inside wall cable management turns a wall of dangling cords into a single clean surface. Measure your cavity, confirm the power solution, and the install becomes an afternoon project instead of a callback to an electrician.