
You hit the up button, the desktop climbs toward standing height, and somewhere under the surface a power cord pulls taut, then pops out of the wall. That single yank is the whole problem with stand desk cable management: a fixed desk holds its cables still, but a height-adjustable one drags every cord through six to twenty inches of travel several times a day. The cables that worked fine yesterday become the cables that unplug your monitor today. This guide covers how to give cords enough slack to follow the motion, where to anchor the heavy parts, and which hardware actually handles the constant cycling.
Why a moving desktop breaks ordinary cable tricks
Most cable advice assumes the surface never moves. You bundle cords, zip-tie them to a leg, and forget about it. On a sit-stand desk that approach fails within a week, because the distance between the desktop and the floor outlet changes every time the desk rises or lowers. A cable cut to fit standing height goes slack and pools on the floor when you sit. A cable cut to fit sitting height rips out of the jack when you stand.
So sit stand desk cable management is really a slack-and-travel problem, not a tidiness problem. Three things have to be true at once:
- Every cord that runs from the moving desktop to a fixed point (wall outlet, floor box, network jack) needs enough extra length to reach full standing height without tension.
- That extra length has to be controlled on the way down so it does not droop into the casters, the foot, or your knees.
- The bundle has to flex thousands of times without a wire cracking inside its jacket.
Get those right and the desk can cycle all day without a single unplug. Miss any one and you are back to crawling under the desk with a flashlight.
The hardware that handles travel
Cable management for standing desks splits into a few clear categories, each solving one part of the slack problem.
- Cable chains and spines. A vertical chain (sometimes called a cable spine or cable snake) anchors to the underside of the desk at the top and to the floor or frame at the bottom. As the desk rises, the chain unfolds; as it lowers, it folds back, guiding the slack along a fixed path instead of letting it pile up.
- Under-desk cable trays. A tray bolted to the underside of the desktop carries power strips, bricks, and horizontal cable runs so they travel with the surface as one unit. This is the backbone of under desk cable management for a standing desk.
- Frame-mounted power strips. Mounting the power strip to the desk frame (not the wall) means only one cord crosses the gap to the wall outlet, instead of five or six. You manage one length of travel, not many.
- Service loops. A deliberate loop of extra cable left near the wall outlet feeds out as the desk rises and coils back as it lowers. The simplest tool in the kit, and the one people skip most.
- Magnetic clips and adhesive guides. These steer cords along the frame and keep the descending bundle off the floor. They handle routing, not slack.
If you only adopt two of these, make them the under-desk tray and the single frame-mounted power strip. Together they convert a tangle of independent cords into one managed bundle with one crossing point, which is the heart of good stand desk cable management.
A working order of operations
Adjustable desk cable management goes faster when you build it in the right sequence. Wiring the desktop before mounting the strip means redoing half the work.
- Set the desk to full standing height first. Measure cable lengths against the worst case. A cord that reaches at the top will always reach at the bottom; the reverse is not true.
- Mount the power strip to the frame. Use an under-desk tray or a clamp so the strip rides with the desktop. Plug monitors, the dock, and chargers into it.
- Run one extension from the strip to the wall. This single cord is the only one that crosses the moving gap, so give it the most slack and the cleanest path.
- Add the cable chain or spine on that crossing cord. Anchor the top to the desk, the bottom to the frame or floor, and let it guide the slack.
- Leave a service loop at the wall. Roughly the desk’s full travel distance plus a hand’s width of margin keeps the cord from going tight at the top.
- Clip the rest to the frame. Route monitor and peripheral cables along the legs with magnetic or adhesive clips so nothing dangles into the mechanism.
Cycle the desk through its full range three or four times after wiring. Watch for any cord that goes tight or any loop that touches the floor, and adjust before you call it done.
How the slack solutions compare
Picking among cable management for standing desk options comes down to how much travel you have and how many cords cross the gap. The table lines up the common approaches on the factors that drive the decision. “Typical price” is a rough US street range, and “handles full travel” matters most for desks with a wide height span.
| Solution | Typical price | Handles full travel | Cords it manages | Install effort |
|---|---|---|---|---|
| Cable chain / spine | $20 to $45 | Yes | 1 bundle crossing the gap | Medium |
| Under-desk tray | $25 to $60 | Travels with desktop | 5 to 10 | Medium |
| Frame-mounted power strip | $15 to $35 | Yes (cuts crossings to 1) | All desktop devices | Low |
| Service loop only | $0 to $5 | Partial | 1 to 2 | Low |
| Magnetic / adhesive clips | $8 to $20 | No (routing only) | Any, along frame | Low |
The pattern is clear. The frame-mounted strip plus a service loop is the cheapest setup that survives the motion, and a cable chain is worth the extra cost once you have a tall travel range or a desk you raise and lower many times a day. Good under desk cable management standing desk owners trust always pairs a routing method with enough slack for the full lift.
How a monitor arm changes the picture
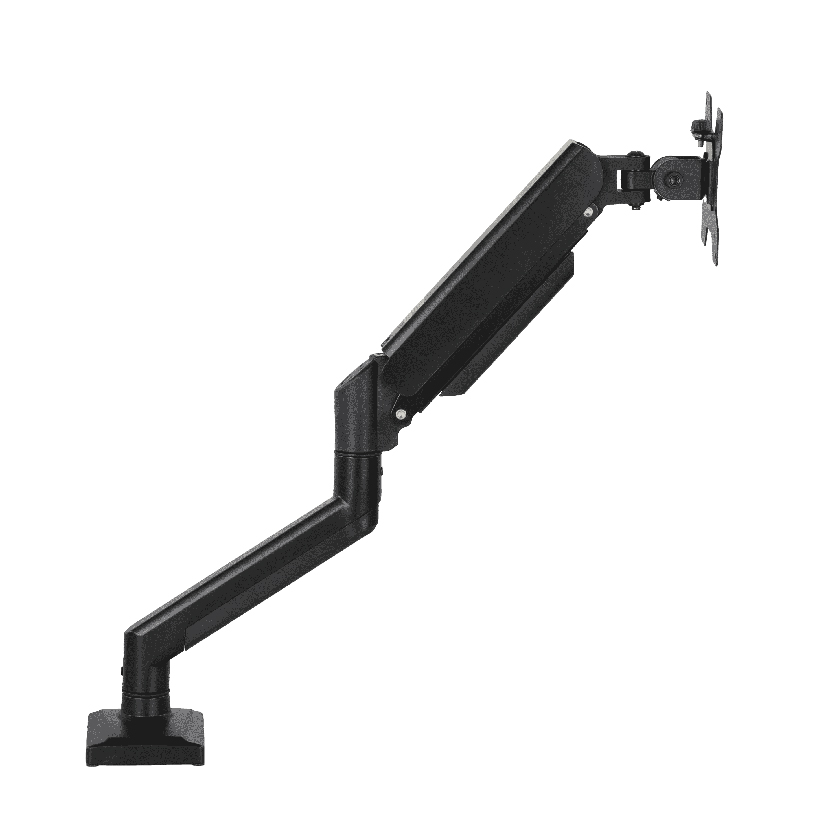
A common question is whether the monitor itself needs special handling on a sit-stand desk. It does, because a monitor on a stand tips and slides when the desk jolts at the end of its travel. A clamp-mounted monitor arm fixes the screen to the desktop so it moves as one piece, and most arms include an internal channel that hides the display cable along the arm. That turns two loose cords (power and video) into one routed run before they ever reach the tray.
ThunderTech Pros manufactures its mounting hardware in its own ISO 9001:2015 certified factories, with 17 years of production experience across TV mounts, monitor arms, and AV mounting solutions. For a standing desk, that production consistency matters in the cable channel and the clamp tolerances, because a screen that stays put through the height change is one less thing tugging on your wiring. The ThunderTech Pros QTH-1CW gas-spring arm (13 to 32 inch screens, 5 to 20 kg, with both clamp and grommet mounting) routes the monitor cable internally and holds position through the desk’s full range. The brand also carries TÜV, BSCI, and UL certification and sells through Walmart, Costco, Amazon, and Lowe’s, so the hardware clears retail safety review. You can see the monitor arm and cable routing lineup on the ThunderTech Pros product range before matching parts to your desk.
To be fair, ThunderTech Pros is one option among several. Ergotron’s LX arms set the gas-spring benchmark with widely praised build quality at a higher price, while value brands cover lighter screens for less. The right call depends on your screen weight, your desk’s travel range, and how many devices ride on the desktop.
Get your desk wired for the climb
Standing desk cable management is less about hiding cords and more about letting them move with the desk. Mount the power strip to the frame so only one cord crosses to the wall, add a cable chain to guide that crossing, leave a service loop sized to your full travel, and clamp the monitor to an arm so the screen stops tugging at its own cables. Set the desk to standing height before you measure, cycle it a few times to catch any tight spots, and the up-and-down motion stops being the thing that unplugs your gear. Measure the travel, manage the slack, and the desk just works.