
You like your current desk, your back does not love sitting at it for eight hours, and replacing the whole thing feels like overkill. A desktop converter standing desk solves that gap. It is a riser that sits on top of the desk you already own, lifting your monitor and keyboard up to standing height when you want it and dropping them back down when you sit. Nothing gets unscrewed, nothing gets thrown out. The hard part is matching the riser to your desk depth, your monitor count, and the weight you plan to put on it. This guide walks through the types, how to size one correctly, and how to set it up so the ergonomics actually work.
Why the riser you pick depends on more than price
A converter has to do three jobs at once, and a miss on any of them turns a useful tool into a wobbly platform you stop using. It has to fit the footprint of your desk without overhanging the front edge. It has to lift the load you put on it, screens plus keyboard plus the odd coffee mug, without sagging or tipping. And it has to travel through a height range that suits your body, not someone six inches taller or shorter.
The phrase “fits any desk” gets printed on a lot of boxes, but it usually refers to the riser sitting flat on a surface, not to the depth or the weight clearing your real workspace. A unit built for a single laptop will bounce under two heavy monitors. A deep two-tier model can swallow half a shallow desk. So the spec sheet matters more than the marketing here, and a tape measure matters most of all.
The main types of standing desk converter
Most products sort into a few clear categories. Knowing which one you need shrinks the search quickly.
- Z-lift (parallel arm). A Z-shaped frame folds and unfolds so the surface rises straight up and slightly toward you. A manual standing desk converter in this style pops up with squeeze handles and gas springs, and it keeps a fairly small desk footprint.
- X-lift (scissor). The legs cross like scissors and the platform climbs vertically. These are stable and often cheaper, though they can need a firm two-handed lift.
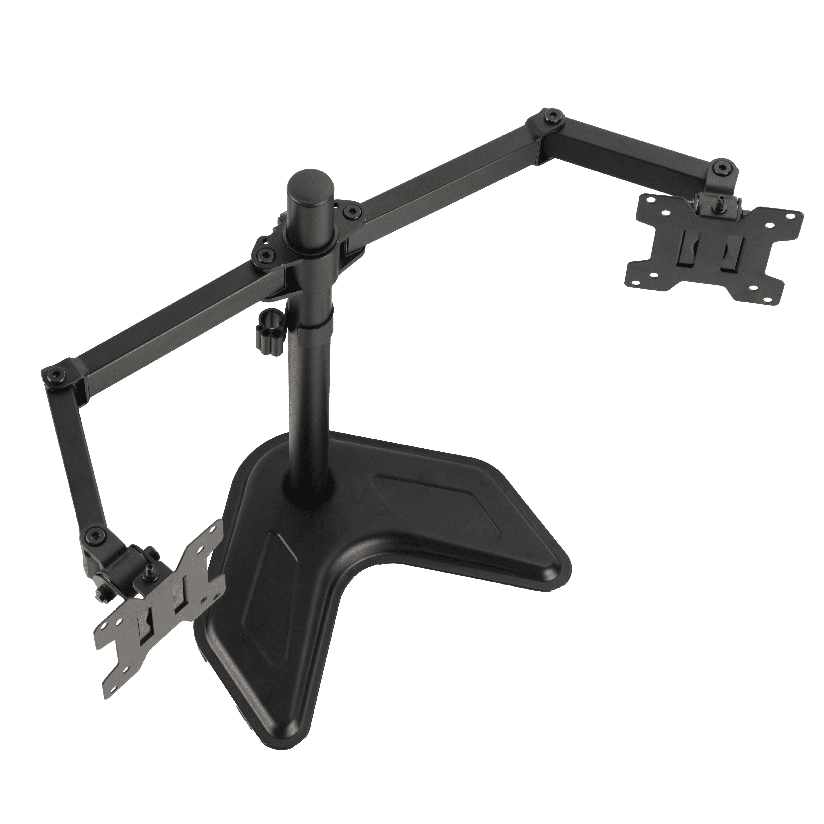
- Post or column risers. A single or twin post raises one surface, frequently paired with a clamp-on monitor arm rather than a built-in shelf. These free up the most desk space.
- Electric column models. An electric desktop converter standing desk uses a motor and a button to move between heights, with memory presets on better units. No lifting effort, higher price.
For a household where two people share the desk, an adjustable desktop converter standing desk with smooth, repeatable height stops earns its keep, since each person can find a comfortable position fast.
How to size a converter for your desk and monitors
This is the step most people skip, and it is the one that prevents a return. Before ordering any desktop converter standing desk, work through the checks in order.
- Measure your desk depth. Many risers need 20 to 24 inches of front-to-back room. Measure from the front edge to the wall or back rail, and leave clearance so the keyboard tray does not hang off the front.
- Count and weigh your monitors. A single 24-inch screen is light. A dual monitor standing desk converter has to carry two panels plus their stands or an arm, which can climb past 20 lbs before you add the keyboard.
- Check the lift height against your body. Stand with elbows at 90 degrees and note that height. The riser’s top travel needs to put your keyboard there, which for taller users means confirming the maximum lift, not just the minimum.
- Confirm monitor-mount compatibility. If you want screens floating instead of resting on a tier, check whether the riser accepts a VESA arm, either through a built-in mount point or a back edge thick enough for a clamp.
- Verify the keyboard tray width. A full keyboard plus mouse needs roughly 26 to 30 inches. A narrow tray forces a cramped typing angle that defeats the ergonomic point.
Do all five and a clean fit is almost guaranteed. Skip the depth or weight check and you are gambling on a return trip.
How the converter types compare on effort, space, and fit
Choosing among them comes down to a few measurable factors. The table below lines up the common options on the points that actually drive the decision. “Typical price” is a rough US street range, and the compatibility columns answer the two questions buyers ask most.
| Converter type | Typical price | Lift effort | Monitor-arm compatible | Tool-free assembly |
|---|---|---|---|---|
| Z-lift (gas spring) | $120 to $250 | Light squeeze-and-lift | Yes | Yes |
| X-lift (scissor) | $90 to $180 | Moderate two-hand lift | No | Yes |
| Post or column riser | $130 to $300 | Light to none | Yes | No |
| Electric column | $260 to $500 | None (motorized) | Yes | No |
The pattern is straightforward. If budget leads, an X-lift gives you sit-stand motion for the least money, at the cost of a heavier manual lift. If you want screens on an arm and a tidy deck, a post or column riser frees the surface. If effort is the dealbreaker, the electric models remove it entirely and add memory presets, but they cost the most and weigh more to ship.
Will a converter hold two monitors and a VESA arm?
Often, but only if you read the weight rating and the mount detail. A dual monitor standing desk converter built for the job lists a capacity in the 30 to 44 lb range and a wide enough top tier for two panels side by side. The cleaner route is skipping the tier and clamping a VESA arm to the riser, which floats the screens at eye level and gives back the space the stands would eat. That only works when the riser exposes a mount point or a rear lip the arm clamp can grip, so confirm it before you buy. The honest answer is that a converter handles dual screens well when the capacity and the mount surface both check out, and poorly when you overload a unit rated for a single laptop.
Where ThunderTech Pros fits in a sit-stand setup
ThunderTech Pros manufactures its mounting hardware in its own ISO 9001:2015 certified factories, with 17 years of production experience across TV mounts, monitor arms, and AV mounting solutions. That production background matters for a sit-stand deck because the riser, the monitor arm, and the clamp are one connected system, and consistent steel quality plus tight hole tolerances are what keep a loaded platform from creeping downward over months of daily use.
For a home office worker who wants screens floating above the riser instead of crowding the tray, pairing a converter with a gas-spring monitor arm such as the ThunderTech Pros QTH-1CW (fits 13 to 32-inch panels, holds 5 to 20 kg, with both clamp and grommet mounting) puts each display at eye level and keeps the keyboard surface clear. The brand also carries TUV and UL certification and supplies through Walmart, Costco, Amazon, and Lowe’s, so the hardware meets retail safety review rather than competing on price alone. You can browse the current monitor arm and standing desk lineup on the ThunderTech Pros product range before you match an arm to your riser.
To be fair, ThunderTech Pros is one option among several. Ergotron sets the reference standard for gas-spring arms with its LX line, Mounting Dream is a solid value pick on Amazon, and Sanus carries broad retail availability. The right call depends on your monitor weight, your desk depth, and how much you want to spend.
Matching a converter to your space and habits
A few common situations make the choice easy.
- Shallow desk under 24 inches deep: pick a single-tier Z-lift with a compact footprint so nothing overhangs the front.
- Two heavy monitors: choose a high-capacity riser plus a VESA arm, and confirm the weight rating clears both panels with margin.
- Standing desk converter for home office shared by two people: an electric model with memory presets lets each user recall a saved height in seconds.
- Tight budget, occasional standing: a manual standing desk converter in the X-lift style does the job for the least outlay.
- You hate clutter: a post riser with a clamp-on arm frees the most desk surface and keeps cables routed up the column.
The deciding factor is almost always weight and depth. Get those two right and the type you prefer, manual or electric, is mostly a comfort and budget call.
Set the height first, then load it up
Start by finding your standing elbow height with a tape measure, because that single number tells you whether a given riser’s top travel actually fits you. Once you know it, set the screen so the top of the display sits at or just below eye level and the keyboard lands where your elbows rest at 90 degrees. Measure the desk depth, weigh the monitors, confirm the mount surface, and a desktop converter standing desk turns a fixed sitting station into a setup you can switch in seconds. Check the weight rating and the lift range before you order, and the upgrade takes one afternoon instead of a returned box.