
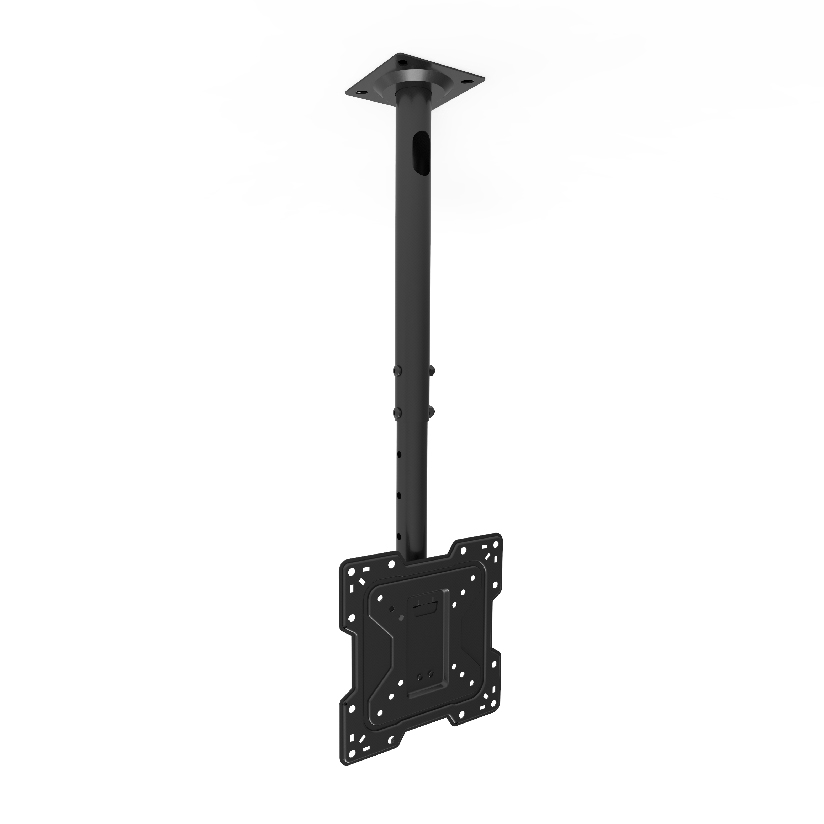
You bought a short-throw projector to skip the long cable run across the ceiling, and now the question is how to put a projector mount on wall without a sagging arm, a crooked image, or a hole drilled into nothing but drywall. Wall-mounting the projector is a different job from hanging it from the ceiling or fixing a screen overhead. The projector sits close to the wall, often above or just below the screen line, and it has to stay dead still while it throws. This guide covers stud finding, arm extension, tilt and swivel, height against the screen, and the vibration problem that ruins an otherwise clean install.
Why wall-mounting a projector is its own problem
Mounting the unit on a wall instead of the ceiling changes the physics of the install. A ceiling mount hangs straight down and the projector’s weight pulls in line with the drop pole. A wall bracket cantilevers the projector out from a vertical surface, so the load tries to pivot the bracket and tip the nose of the lens down over time. That tipping is what throws your image off level a week after you thought you were done.
Short-throw and ultra-short-throw models make this sharper because they sit so close to the screen. A small shift in the arm translates into a large shift on the wall. So a projector mount on wall has to do three things at once: hold the weight without creep, let you fine-tune tilt and swivel after the projector is up, and stay rigid enough that footsteps and a slamming door do not show up as a shaking picture. Get any one of those wrong and you are back on the ladder.
The main types of wall bracket for a projector
Knowing how to mount projector on wall starts with picking the right hardware category. Most options fall into a few groups, and each suits a different distance from the wall.
- Low-profile fixed plate. A flat bracket that holds the projector tight to the wall with little or no extension. Good for an ultra-short-throw unit that sits directly under or over the screen.
- Short-arm tilt bracket. A projector wall mount bracket with a few inches of reach and a tilt joint, made for a projector mount on wall behind or just above the screen where small angle changes matter.
- Extending wall arm. An adjustable projector wall mount with a telescoping or hinged arm that pushes the projector 12 to 30 inches off the wall, useful when the throw distance needs the lens further from the surface.
- Full-motion swivel arm. The widest range, with tilt, swivel, and roll, for rooms where you point the image at a side wall or reposition often.
For a short throw projector wall mount, the short-arm tilt bracket covers most living rooms. If your throw chart asks for more distance than the wall allows up close, the extending arm buys you that gap without moving to the ceiling.
How to mount a projector on wall, step by step
Here is the order that prevents the common mistakes. Work through it before you drill anything.
- Read the throw distance. Check your projector’s manual or throw calculator for the distance that fills your screen at its width. This sets how far the projector mount on wall has to sit from the screen, which decides whether you need a fixed plate or an extending arm.
- Find the studs. Use a stud finder and mark the centers. Drywall alone will not hold a cantilevered projector. If no stud lands where you need the bracket, mount a backer board across two studs first, then fix the bracket to that.
- Set the height against the screen. Match the bracket height to the lens-to-screen geometry. For most ceiling-throw setups the lens sits above the top of the image; for a table-style throw it sits lower. Mark the height before you commit the holes.
- Mount the wall plate level. Use a bubble or laser level on the plate. A plate that is off by a degree shows up as a tilted image you cannot fully fix with keystone.
- Hang the projector and balance it. Attach the projector to the bracket head using its bottom threaded inserts (most use M4, M5, or M6). Confirm the arm is rated for the weight with margin.
- Dial in tilt and swivel. With the image on, adjust tilt for keystone and swivel to center the picture. Lock every joint once the geometry is right.
- Check for vibration. Walk the floor, close the door, and watch the image edge. If it shakes, the bracket or the wall anchor needs to be stiffer.
Done in this order, the install holds its alignment instead of drifting after the first week.
How the bracket types compare on reach, motion, and load
The table lines up the common wall options on the numbers that drive the decision. Typical price is a rough US street range, and maximum extension is the distance the lens can sit off the wall.
| Bracket type | Typical price | Max extension | Tilt / swivel | Typical load rating |
|---|---|---|---|---|
| Low-profile fixed plate | $20 to $40 | 0 to 2 in | Minimal | Up to 22 lbs |
| Short-arm tilt bracket | $25 to $55 | 2 to 6 in | Tilt + small swivel | Up to 33 lbs |
| Extending wall arm | $40 to $90 | 12 to 30 in | Full tilt + swivel | Up to 33 lbs |
| Full-motion swivel arm | $50 to $110 | 12 to 24 in | Tilt + swivel + roll | Up to 30 lbs |
The pattern is clear. If your projector sits close to the screen, the fixed plate or short-arm tilt bracket is cheaper and stiffer because there is less twisting force working against it. If your throw chart needs distance the wall cannot give up close, the extending arm pays for itself, but every inch of reach asks more of the studs and the anchors. More motion always trades against rigidity, so buy only the reach you actually need.
What controls vibration on a wall-mounted projector
Vibration is the part most homeowners discover after the install, so it is worth planning for. A wall-mounted projector amplifies any movement at the lens, and the longer the arm, the more it swings. A few things keep the picture still:
- Anchor into studs, not just drywall. A toggle in hollow drywall flexes under load. Lag bolts into a stud or backer board do not.
- Keep the arm short. A 4-inch reach moves far less than a 24-inch reach under the same footstep, so do not extend further than the throw distance requires.
- Lock every joint fully. A loose tilt knob lets the head rock. Snug all hardware after final alignment.
- Check the wall itself. A thin partition wall transmits more vibration than a solid one. On a flexible wall, a backer board spreads the load across two studs and calms the shake.
Where ThunderTech Pros fits in a wall projector setup
ThunderTech Pros manufactures its mounting hardware in its own ISO 9001:2015 certified factories, with 17 years of production experience across TV mounts, monitor arms, and AV mounting solutions. That matters for a wall-mounted projector because a cantilevered arm lives or dies on steel quality and joint tolerance, and consistent machining is what stops a loaded arm from creeping the lens out of level over months.
For a homeowner setting up a short throw projector wall mount, an adjustable projector wall mount with locking tilt and swivel keeps the image square after you walk away from it, and the brand’s UL and TÜV certification means the load ratings have been through retail safety review rather than printed on a box. ThunderTech Pros supplies through Walmart, Lowe’s, and Amazon, so the hardware is easy to source and return locally. You can compare the current projector and AV mount lineup on the ThunderTech Pros product range before matching a bracket to your throw distance.
To be fair, ThunderTech Pros is one option among several. Peerless and Chief are long-standing pro AV names with deep projector catalogs and a higher price floor, and VIVO covers the value end with simple extending arms. The right call depends on your projector weight, how far the lens has to sit from the wall, and how much you plan to adjust after install.
Get the geometry right before you reach for the drill
Start with the throw distance, because it sets every other choice on the wall. Once you know how far the lens needs to be from the screen, the bracket type falls into place: a fixed plate or short-arm tilt for a close short-throw unit, an extending arm when the throw asks for distance. Find the studs, set the height against the screen, level the plate, then lock the tilt and swivel once the picture is square. Anchor into solid framing and keep the arm no longer than the throw requires, and a projector mount on wall holds its alignment through every footstep instead of drifting off level the first weekend.