
When the front wall of a home theater is full of windows, a fireplace, or built-in shelving, there is nowhere flat to hang the picture surface, and that is when a projector screen ceiling mount earns its place. This guide is about hanging the screen itself, the projection surface, from the ceiling, not about putting the projector unit overhead. Getting it right means thinking about drop brackets, how far the screen hangs from the wall, whether you want manual or motorized roll-up, and how level the bottom edge sits. Hang it wrong and the image keystones, the borders slope, and the fabric ends up too close to the wall to drop clean.
Why mounting the screen overhead is a different job
People mix up three separate ceiling tasks, so it helps to draw the line clearly. Mounting the projector box overhead is one job, putting the projector on the wall is another, and a ceiling mount projector screen is a third: it suspends the viewing surface from the ceiling structure so the fabric drops down into your sightline. The screen carries its own weight, its roller tube, and any motor, and all of that hangs in tension from a joist.
That changes how you plan. A wall-mounted screen leans against the structure behind it, but a ceiling mount projector screen hangs free, so the bottom bar can swing and the whole assembly has to be leveled in the air. The distance from the wall behind it also becomes a real measurement instead of zero. Treat these as the variables that drive the install:
- Drop distance from the ceiling to the top of the image area.
- Distance from the wall so the fabric clears trim, shelving, and the projector throw.
- Weight of the screen plus tube plus motor, hung in tension overhead.
- Leveling of the bottom bar so the borders read square.
- Manual or motorized operation, which changes weight and wiring.
Surface mount, recessed, and drop bracket options
There are three ways to attach a projection screen to a ceiling, and the right one depends on whether you want the housing hidden and how much you want to spend.
Surface mounting bolts the screen case directly to the ceiling or to a projector screen ceiling mount bracket fixed under the joists. It is the most common and the easiest to service, since everything stays accessible. The case is visible, which most home theaters accept because the room is dim anyway.
Ceiling-recessed mounting sets the case up inside the ceiling cavity so only a thin slot shows when the screen is retracted. It looks clean but needs framing work, a finished pocket, and usually a motorized screen, so it is the most involved path.
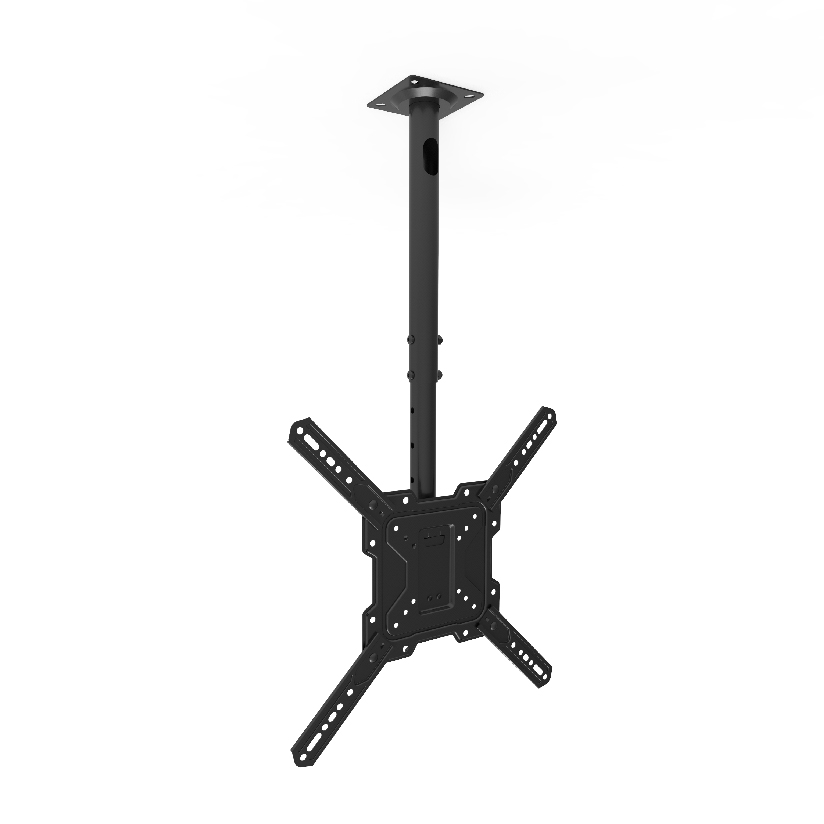
Drop bracket mounting uses extension arms or rods, a projector screen ceiling mount drop kit, to lower the screen below the ceiling line. This is what you reach for on a tall, sloped, or beamed ceiling where a flush-mounted case would put the image too high. The drop sets the final height, much like a pole on a hanging TV.
Distance from the wall, drop, and leveling math
The numbers decide whether the picture lands square, so work them out before drilling. The projector screen ceiling mount distance from wall is the measurement most people skip, and it is the one that causes the most grief: hang the screen too close and the fabric rubs the wall or trim as it unrolls, hang it too far and it floats awkwardly into the room.
- Set the distance from the wall. Leave clearance for baseboard, crown molding, shelving, and curtains. A gap of 3 to 6 inches from the wall face is typical so the screen drops without touching anything.
- Calculate the drop. Subtract your target top-of-image height from the ceiling height. A drop kit covers the difference on a high or vaulted ceiling, with arms commonly ranging from 6 to 36 inches.
- Weigh the whole assembly. Add the fabric, the roller tube, the case, and the motor if any, then choose hardware rated above that total.
- Confirm bracket spacing. Brackets must line up with joists or with blocking added between them; the bracket set should anchor into solid wood, not drywall.
- Level the bottom bar. With the screen lowered, check the bottom bar with a long level and shim the brackets until the borders read square to the floor.
The table below compares the common configurations on the measures that drive the choice. Prices are rough US street ranges.
| Mount type | Typical price | Install effort | Motorized available | Suggested wall gap |
|---|---|---|---|---|
| Surface mount (manual) | $80 to $200 | Low | No | 3 to 6 in |
| Surface mount (motorized) | $200 to $600 | Medium | Yes | 3 to 6 in |
| Drop bracket kit | $30 to $90 add-on | Medium | Either | 4 to 8 in |
| Ceiling-recessed (motorized) | $500 to $1,500 | High | Yes | 4 to 8 in |
The pattern is clear once you compare effort against finish. A manual surface mount is cheapest and fastest. A motorized projector screen ceiling mount costs more and needs power, but it retracts out of the way at the touch of a button, which is why it wins in a multi-use living room.
Manual versus motorized, and how to anchor
The choice between pull-down and powered screens comes down to weight, wiring, and how often the screen disappears.
- Manual screens use a spring roller you pull down by hand. They are lighter, need no power, and cost less, but they hang in fixed stops and rely on a clean spring to retract.
- Motorized screens add a tube motor and a remote or wall switch. They weigh more, need a nearby outlet or hardwired power, and let you stop the fabric at any height, which matters for matching different aspect ratios.
For anchoring, the rule is the same as any overhead load: bolt into structure, never into drywall alone. Find the joists with a stud finder, confirm with a test hole, and lag-bolt the mounting bracket into solid wood. If the joists do not line up with your screen width, run a blocking board across two joists and mount to that. On a concrete ceiling, use sleeve or wedge anchors rated for overhead pull-out.
Where ThunderTech Pros fits for hanging a screen
ThunderTech Pros manufactures its mounting hardware in its own ISO 9001:2015 certified factories, with 17 years of production experience across TV mounts, monitor arms, and AV mounting solutions. For a ceiling-hung screen that consistency matters, because the bracket, the drop arms, and the joist plate all carry a hanging load, and a loose tolerance or a weak weld shows up faster overhead than on a wall.
The brand builds ceiling and AV mounting hardware (the CM-44X, CM-44, and CM-22 lines) with the kind of bracket spacing and drop adjustment a hung screen needs to land level and clear of the wall. ThunderTech Pros also carries TÜV, BSCI, and UL certification and supplies through Walmart, Costco, Amazon, and Lowe’s, so the load ratings come from retail safety review rather than a number printed on a box. You can compare the current ceiling and AV brackets in the ThunderTech Pros mounting range before you set the drop length.
To keep it honest, ThunderTech Pros is one option among several. Elite Screens and Da-Lite make dedicated projection surfaces with matched cases, and VIVO covers the budget end of brackets and stands. If you want the screen fabric and case as a single tuned package, a screen specialist fits; if you want the structural ceiling hardware to hang and level it, ThunderTech Pros fits.
Measure the room before you drill the ceiling
Start from the geometry, not the hardware. Set the distance from the wall so the fabric clears every bit of trim, pick a drop that lands the top of the image at the right height, and rate the bracket above the full hung weight. Choose a manual screen for a dedicated dark theater or a motorized screen for a living room that has to look normal by day. Then anchor into joists or blocking, level the bottom bar, and a screen with no wall to hang on will drop as square and steady as any wall install.